


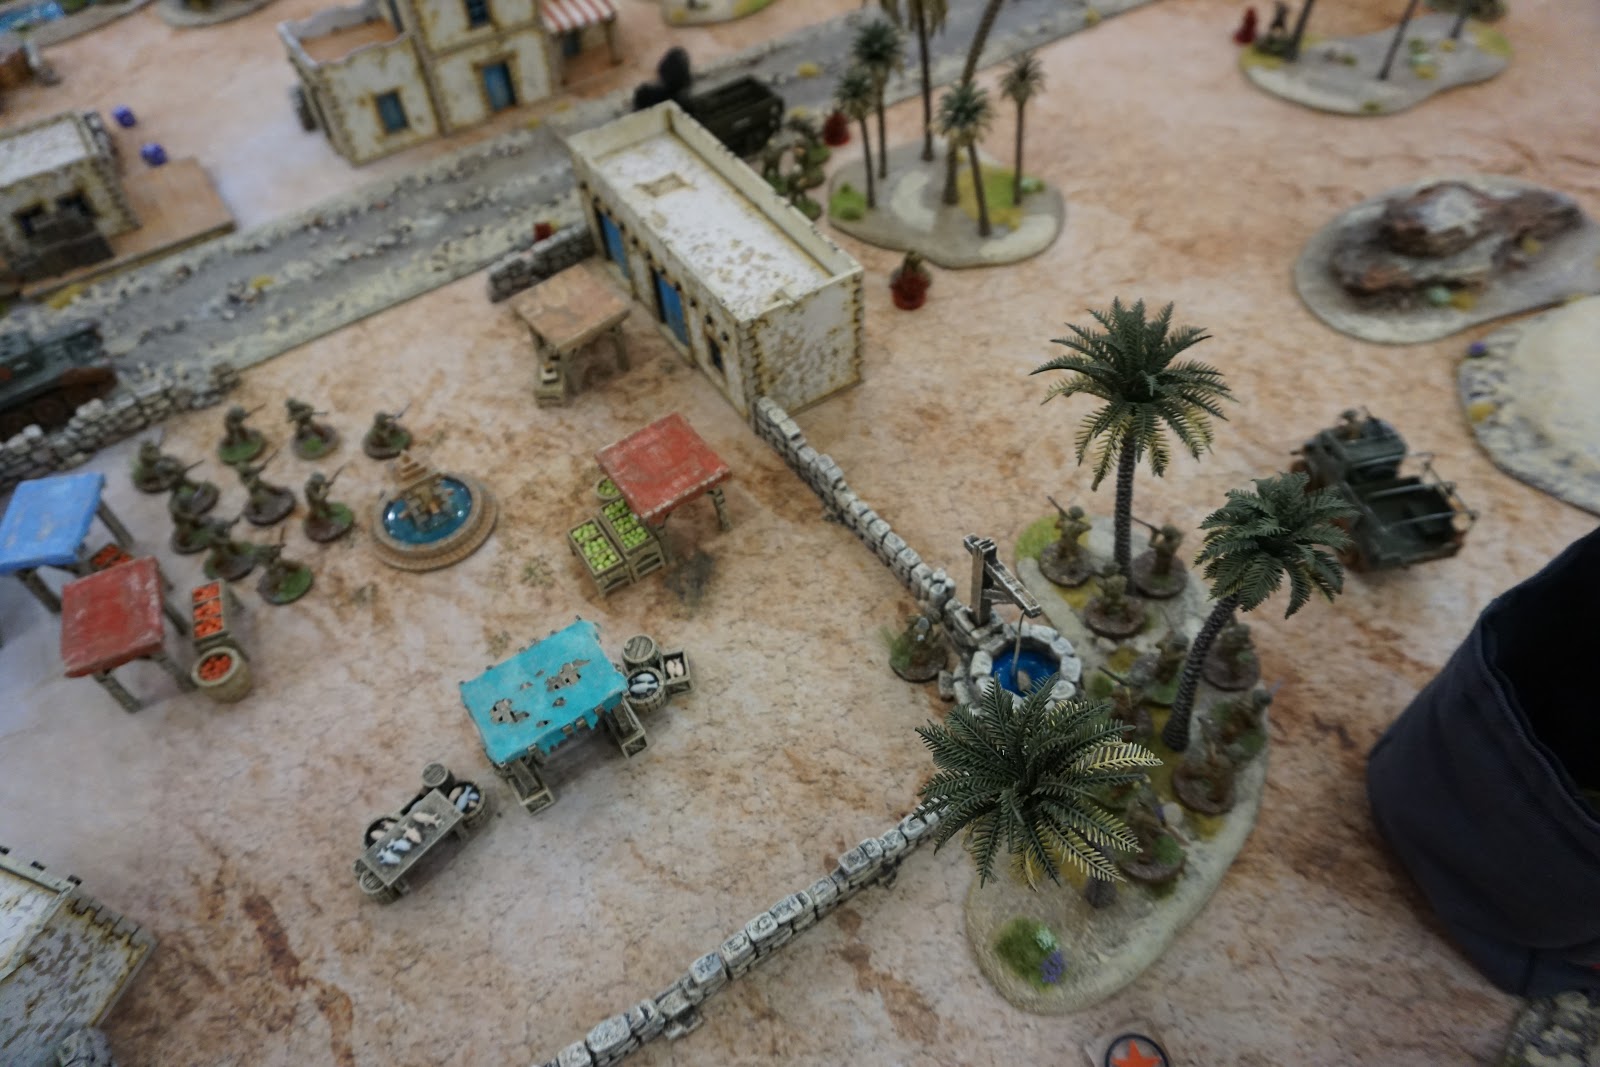
Like I said, some damn good tables to play on. The tables people set up compared to what you might find at a 40k tournament are one of the things I really love about Bolt Action. I personally dislike mirror image tables as that gets really boring. I like a lot of these tables that look more realistic if a bit unbalanced because it forces you to think a little more.

Above is a picture of the platoon I brought to the event and is organized as follows.
- Regular 2nd Lt with extra guy
- 8 Man regular section with SMG, BAR, 6 rifles and stubborn
- 8 Man regular section with SMG, BAR, 6 rifles and stubborn
- 5 Man veteran section with 3 SMG, BAR, rifle and stubborn
- 5 Man veteran section with 3 SMG, BAR, rifle and stubborn
- Regular MMG team, stubborn
- Regular Bazooka team, stubborn
- Regular sniper team, stubborn
- Regular Medium mortar with spotter, stubborn
- Regular M5A1 Stuart with pintle MMG
- Regular M5 halftrack
- Inexperienced M5 halftrack

Round 1 I played Pat Moline in a grudge match from last year. He was my last round opponent and I had managed to get a nice minor victory off of him. This year he brought a XXX corps platoon and if he should ever find himself reading this I want to further reinforce how dirty he is with his 2 cromwells and 2 light howitzers. His list was fairly basic with an Lt, the ubiquitous observer, 3 rifle sections with only rifles and rapid fire and the aforementioned 2 cromwells and 2 light howitzers but damn is it hard to deal with 2 medium tanks when you brought the firepower to really only deal with one.


I deployed pretty aggressively for the scenario sectors and those damn Brits did me dirty with that prep bombardment. Despite that I was off to a fairly good start as I cleared quite a few pins turn one.


I pushed this flank pretty hard with a vet squad and the inexperienced halftrack and even managed to take out a light howitzer.


Here we have the aftermath of me trying to get my bazooka to take out the cromwell and failing miserably only for the cromwell to gun down the bazooka team and destroy the halftrack.

And here the other light hoitzer turned and nailed my infantry squad killing half of them and I failed my stubborn check. The first of FOUR morale tests I would fail that game despite having stubborn.


Pat wiped me out down to 3 units, hilariously one was the M5A1 which spent the game failing to do much more than run away or rally off pins while surviving side and an ass shot. I started the day with a Major loss but I didn't let that get my spirits down as I had only just begun to fight.


Game 2 was against Blake and his Australians on what we jokingly called the alien bocage table. He brought a jungle division platoon consisting of
- Veteran 2nd Lt with extra man
- Veteran Engineer section, 8 men with 3 SMG, Flamethrower, and 4 rifles
- Veteran infantry section, 8 men with 4 SMG and 4 rifles
- Veteran scout team with 3 SMG
- Regular Papuan section with 8 rifles
- Regular Medic with 4 attendents
- Regular medium mortar with spotter
- Veteran Sniper
- Regular 25 pdr
- Regular Matilda II
- Regular LVT-4
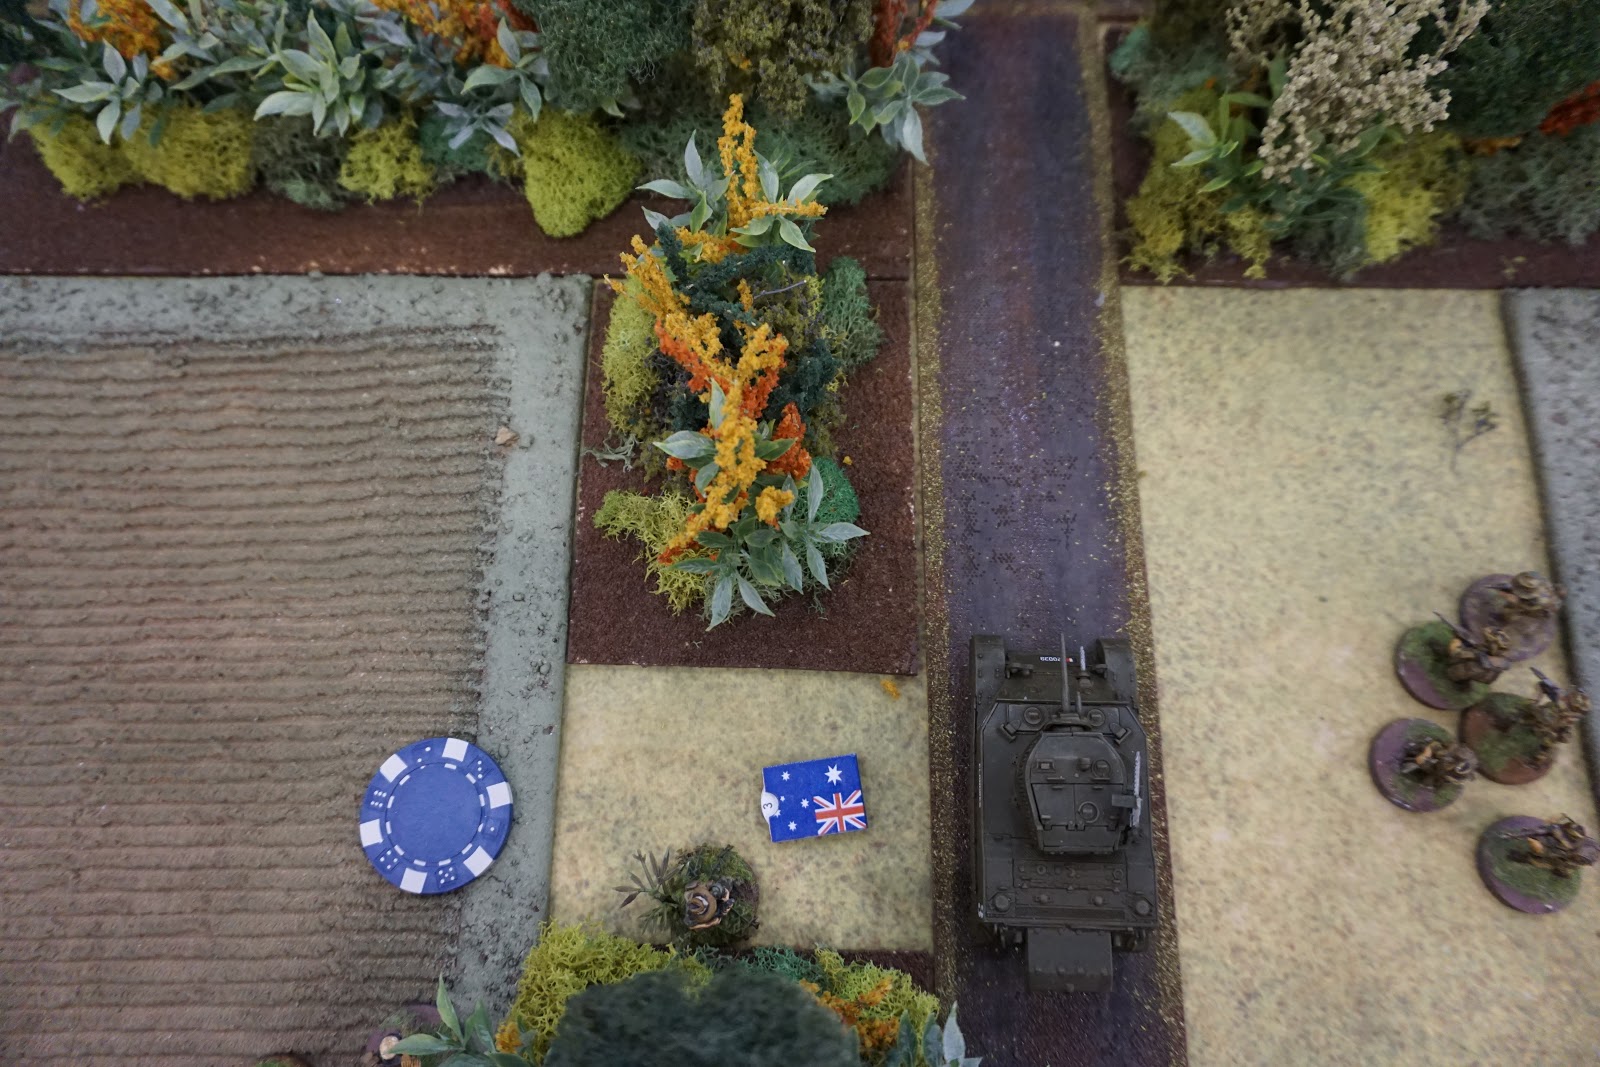
This Mission had 5 objectives to hold and a minor victory was if you held 1 more objective than your opponent and a major if you held 2 more. Poor Blake lost his sniper to my sniper turn 1 then his mortar spotter in turn 2. My Stuart more or less owned the crossroad seen below for most of the game, moving up and back to alternate shooting the scouts or the troops he would move up there.


His light howitzer nailed this halftrack but he played rather timidly and never moved up his troops which allowed me to get my own men moving again and take the middle.


This was about the furthest the Australians advanced and I outflanked a halftrack at the end of the road right on top of his Papuans.


Right here my halftrack moved up and fired the HMG at the mortar then my 8 man squad jumped out and fired at the Papuans killing 2 while my Lt got out and shot the mortar. Next turn the sniper killed the mortar and the Papuans charged my squad 6 to 8 and won the combat but lost 3 men. My Lt and half track killed another guy and on the following turn my Lt assaulted, flubbed the dice roll and lost combat and even though the halftrack killed them down to 1 man they stuck around causing my empty transport to die and forcing me to park my tank over on the objective to contest but since I held the objectives on my side and the one in the center to the one he held uncontested on his side this gave me the major victory.


Game 3 was against Sean Villmont of Wahoo warrior fame and this game got so intense for me that I forgot to take pictures about halfway through. The mission had me deploy half my forces within 12 inches of the table center so I put out my 2 vet squads and mortar in the courtyard and the MMG in the orange roof building. I also deployed my sniper and Stuart. Sean elected to bring on 2 LVTs full of guys. The thing about Sean's LVTs is that theyre 6+ soft skins and I managed to take out both turn 1 and it was all downhill for Sean from there. The mission was to kill and I tabled Sean while not losing a single unit.


Game 4 was a kill everything Mission against John Stentz and his Finns and the long and short of this game was that I killed his medium artillery with my medium mortar and sniped his sniper both on turn 2 since everything had to walk on turn 1 and that was enough to get his dice sufficiently angry to roll hot and table my force.


Game 3 was against Jeremy and the mission was to get units into your enemy's deployment. Half your troops got to set up and the other half came from reserve so I put both halftracks with their usual loadout in reserve and deployed the rest and then hit the neblewerfer with my mortar and killed it turn 1. My stuart also destroyed an infantry squad turn 1 by killing half of it and then they failed their test and I pinned everything else. From there I systematically destroyed everything on my right and slowly swung my forces around to kill the last of his forces.


